One struggle that applies to most job types is staying on task. Whether that means writing the next chapter, gathering information or writing a blog post, most people tend to struggle with organization without an effective tool. Bring multiple people into a project and it just gets worse. While there are plenty of options (simple task apps, sticky notes, spreadsheets), today’s post will discuss a tool that falls into the agile project management category: Trello (https://trello.com).
First, some history. Trello is a Kanban board. If that sounds Greek to you, it’s not. It’s Japanese. Toyota invented this system to manage their inventory and production system. Other companies implemented similar systems, and eventually other industries took notice. Today, it has become one of many agile project management concepts.
This post addresses Trello’s implementation of Kanban. At its most basic level, it’s a board with columns. Cards are added to the board and moved between columns as they reach certain stages. This makes it easy to see at a glance where things stand. Other varieties exist, and other systems (like Scrum), but Trello is a good, basic example of a modern Kanban tool.
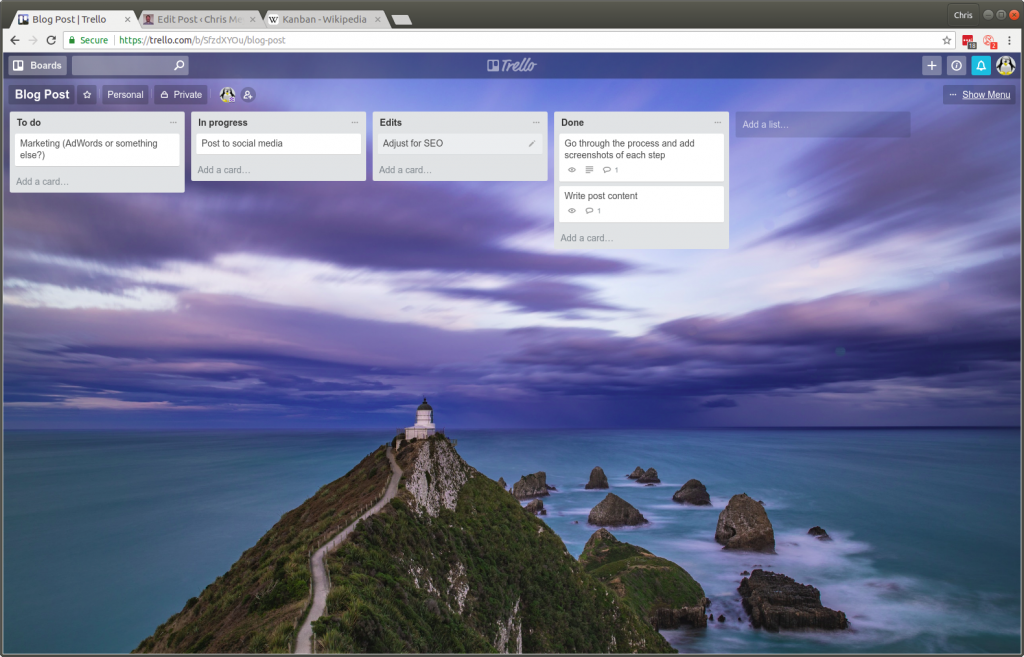
The image above is a simple example of a Trello board. Trello calls the columns “lists”. Each list represents a status or stage of a card’s journey. You may notice this board represents a partially completed project. Cards are tasks or things that need to be done. These cards can be moved between lists as they reach different stages of completion. At a glance, you can see what’s done and what’s left to do. And yes, you can choose one of several pretty backgrounds for your board.
Let’s start from the beginning and get set up with Trello. So head over to https://trello.com and create an account if you don’t already have one. You can choose to login with a Google account or an email/password combination.
Once you’ve signed up and/or logged in, you’ll be taken to the landing page, which looks something like this:

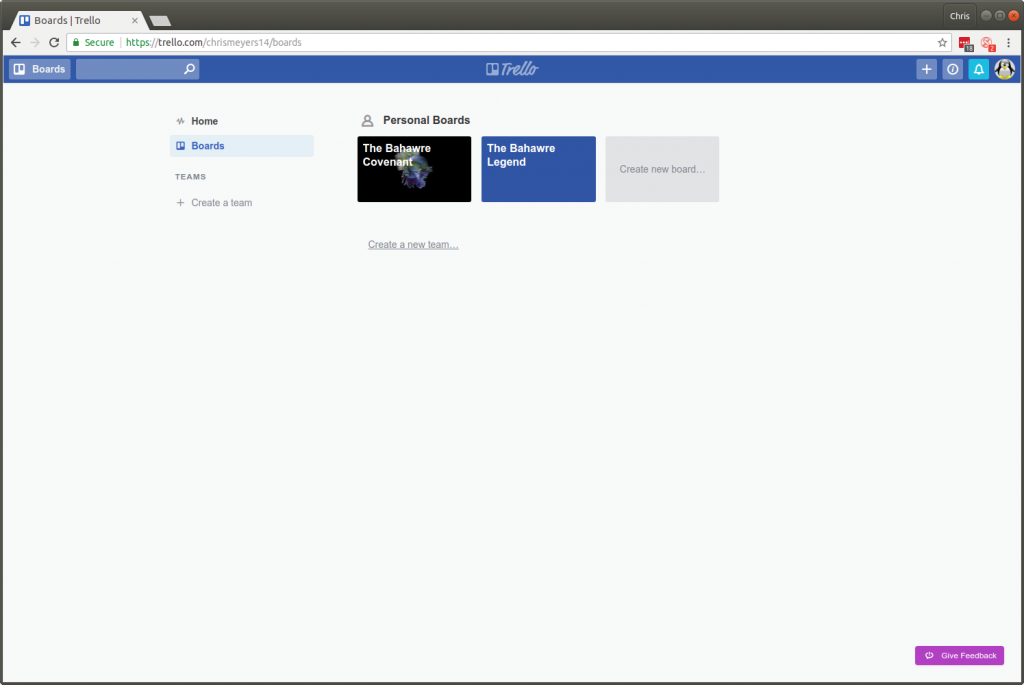
In the menu to the left, click on “Boards” and you should see the main screen containing your boards (if you’ve just signed up, you won’t have any yet):
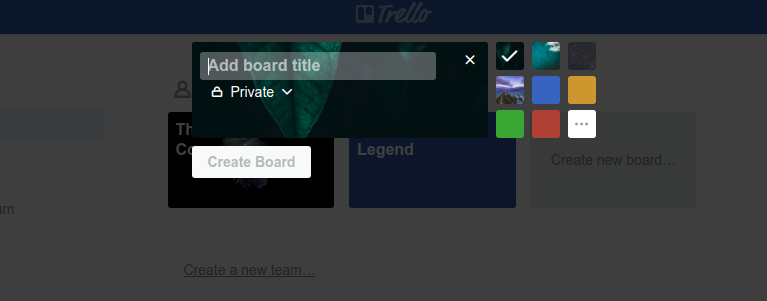
It’s time to create a new board, so click on “Create new board…”. You’ll see a screen similar to the one below. Give your board a name, choose a picture and decide if you want it to be public or private.
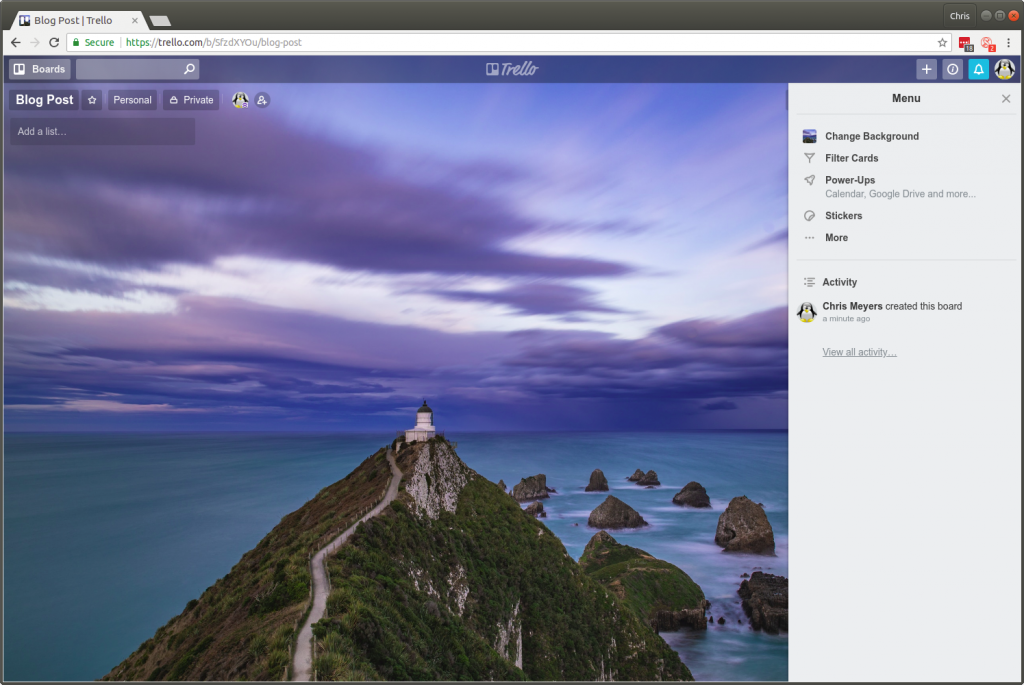
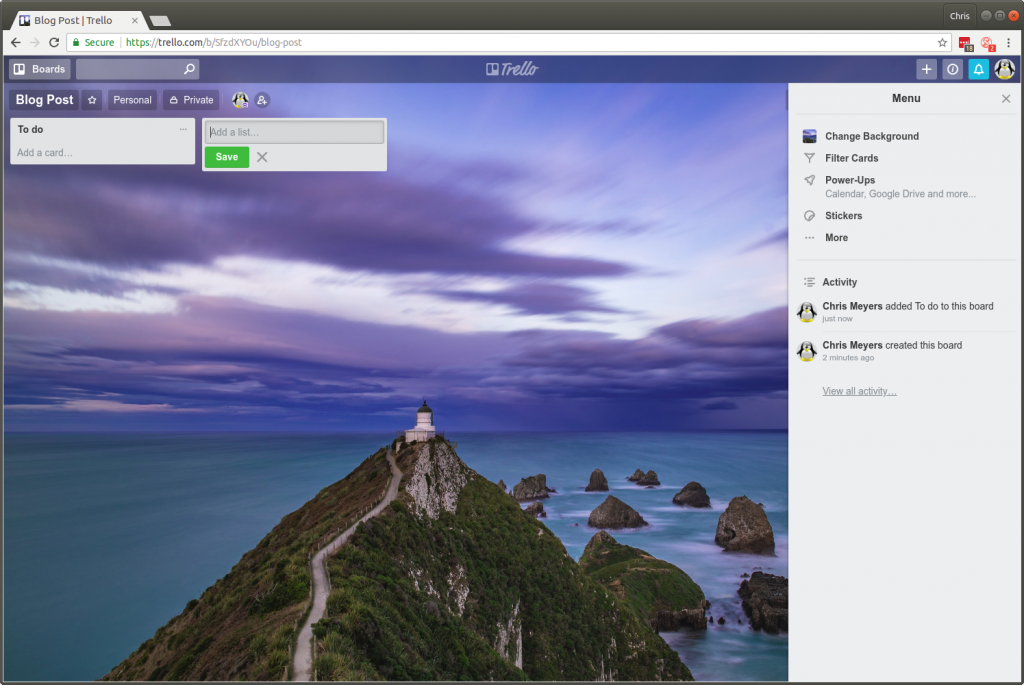
After you click “Create Board”, you’ll arrive at the screen for your board. The default screen will display your chosen background, a menu to the right and an option to add a list.
Click on “Add a list …” and give your list a name.
I added a list called “To do”, and it’s ready for me to add another list. As you can see, this is a very simple process. You can create any number of lists. Just keep in mind how much screen real estate you have and whether or not you want to see all of your lists at once. Here is the set of lists I created for this tutorial:
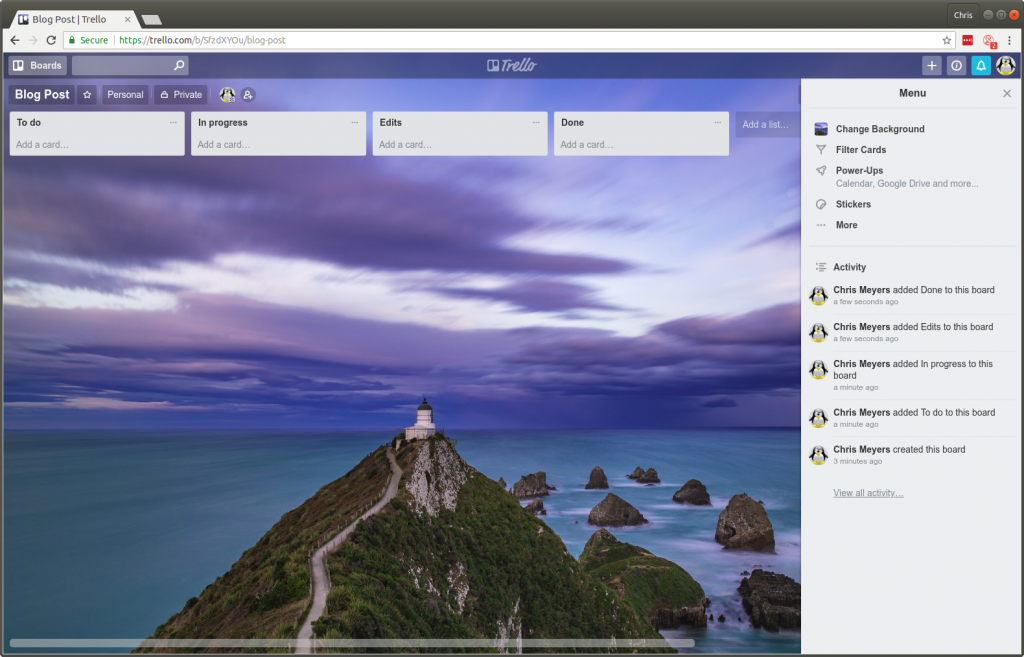
Items I haven’t started will be in “To do”. While I’m working on something, I’ll move it to “In progress”. When something is ready to be edited, I’ll move it to “Edits” and leave it there until I’m done editing. Once I’m happy with a task (card), I’ll move it to “Done”. Let’s add some cards. If you click the “Add a card …” link in the “To do” list, you’ll see the following:
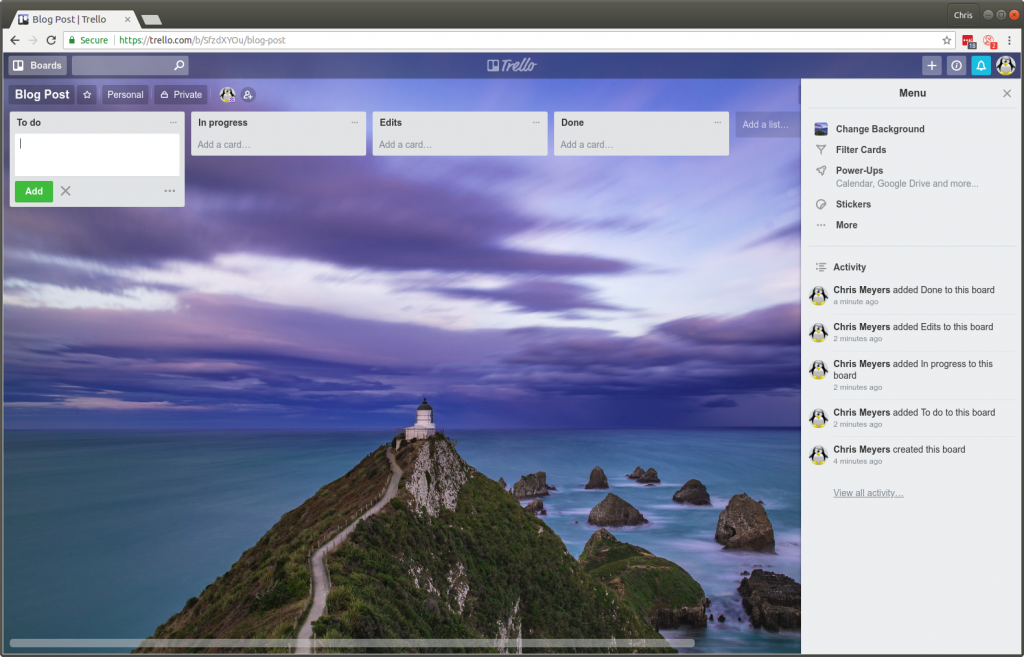
This is something I really like about Trello. You can add cards quickly without any additional stuff to deal with. If you want more, you can edit a card after you create it. So type a short description for this card and and click “Add”. It’s that simple. Here is the list of cards I created:

Don’t worry, you can do much more with cards if you like. I like the fact that you never have to, which helps with staying on task. You only use the features you want, which is what makes Trello such an easy system to use. So create some cards in your “To do” column before moving on to the next step. You don’t need to use the same cards. In fact, it would be more useful for you to create cards you’ll actually use for your current project.
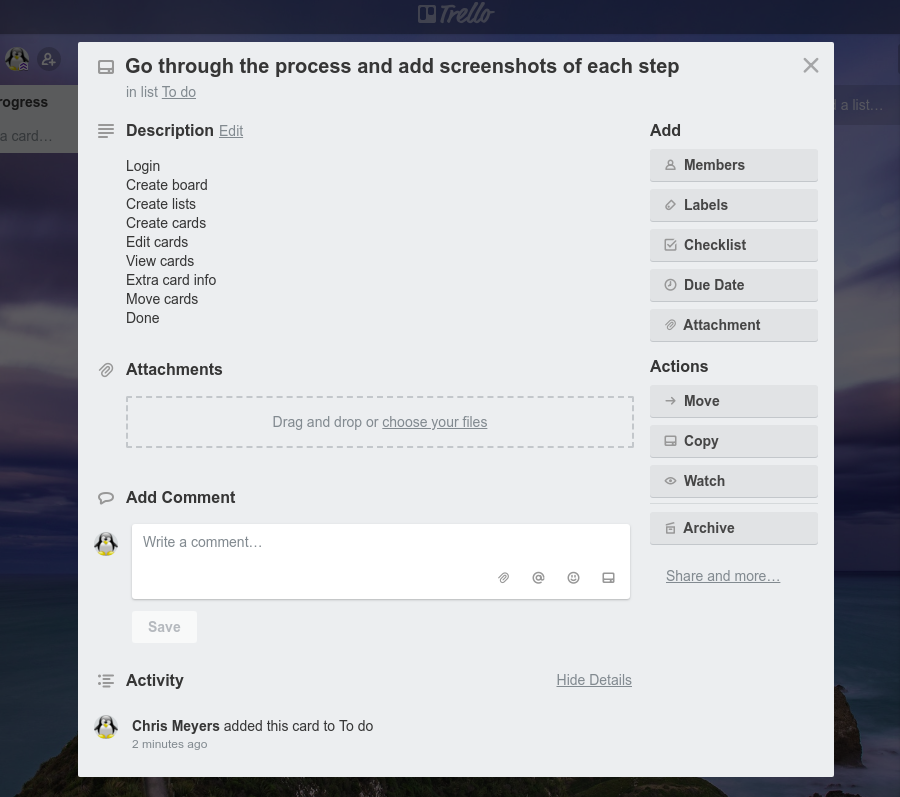
You may have noticed the additional icon in the first “To do” card. That means I’ve added more information to that card. Sometimes a simple description is not good enough. Clicking on a card opens it for editing, and there are plenty of options on that screen. You can add a longer description, attachments and comments. And at the bottom, you can see the “Activity” or history of this card. Furthermore, you can add labels, a due date, or even create a checklist of sub-tasks. I’ll leave you to experiment with these features.
Another thing that makes a board like this so useful is you don’t have to type anything to change the status of a card. Simply drag it to the next list. I’ve created a short video to demonstrate:
Another useful feature I’ve mentioned is the ability to add comments. This can help you keep track of notes you may need. For example, if you move a card from “Done” back to “Edits”, you may want to remember why next time you come to it. Here’s a short video demonstrating comments:
And that’s all I have for today. Have fun staying on task with Trello and let me know if you have any questions.